
initialPositionとposition
AIの回答
initialPositionとpositionは、SwiftUIのMapビューでマップの表示位置を制御するためのプロパティですが、その役割とデータの扱いに大きな違いがあります。
initialPosition
マップが表示された際の最初のカメラ位置を設定します。データフローは一方向で、一度設定されるとユーザーがマップを操作しても値は更新されません。マップの初期表示位置を固定したい場合に適しています。
position
マップの現在のカメラ位置を双方向でバインドします。データフローは双方向で、ユーザー操作によるマップ位置の変更が@Stateプロパティに反映され、また@Stateプロパティの変更がマップのカメラ位置に反映されます。ユーザーの操作やプログラム上のイベントに基づいて、マップの位置を動的に追跡・変更したい場合に適しています。
※下の例ではカメラのズーム度合いの指定に2種類使っています。latitudinalMeterとlatitudeDelta
|
1 2 3 4 5 6 7 8 9 10 11 12 13 14 15 16 17 18 19 20 21 22 23 24 25 |
// マップの初期位置を固定するならこの方法 import SwiftUI import MapKit struct ContentView: View { let aaa: MapCameraPosition = .region(.init(center: .init(latitude: 35.6812, longitude: 139.7671), //緯度経度、東京駅 latitudinalMeter: 1800000, longitudinalMeters: 1800000)) // カメラ範囲またはズームの度合い、数値を上げるとカメラが引く(この数値で日本列島が収まるくらい) var body: some View { Map(initialPosition: aaa){// initialPosition 初期位置 } } //マップ位置を動的に変えるならこっち import SwiftUI import MapKit struct ContentView: View { @State var aaa: MapCameraPosition = MapCameraPosition.region(MKCoordinateRegion(center: CLLocationCoordinate2D(latitude: 35.6812, longitude: 139.7671), span: MKCoordinateSpan(latitudeDelta: 0.5, longitudeDelta: 0.5))) // カメラ範囲またはズームの度合い、数値を上げるとカメラが引く(この数値で日本列島が収まるくらい) var body: some View { Map(position: aaa){ } } |
緯度経度の座標を入れる変数
extension の構造体で作る
CLLocationCoordinate2D() でオブジェクトして格納
|
1 2 3 |
extension CLLocationCoordinate2D { static let 東京駅 = CLLocationCoordinate2D(latitude: 35.6813, longitude: 139.7670) } |
Marker
ピン的なもの、タップで選択可能
Annotationより重いらしい(?
Grok曰くMarkerの方が簡易なので大量に置くのに適しているらしい、いずれ検証結果はなし
|
1 2 3 4 5 6 7 8 9 10 11 |
import SwiftUI import MapKit struct ContentView: View { var body: some View { Map(){ Marker("マーカーに表示するテキスト", systemImage: "tree.fill", coordinate: 経度緯度変数) .tint(.green) //マーカーの色 ↑マーカーのシンボル、これは森のマーク } } } |
選択可能にする方法は MKMapItem クラスに格納して MapView の引数 selection に MKMapItem を指定する
|
1 2 3 4 5 6 7 8 9 10 11 12 13 14 15 16 17 18 19 20 21 22 23 24 25 26 27 28 29 30 31 32 33 34 35 36 37 38 39 40 41 42 43 44 45 46 47 |
import SwiftUI import MapKit struct test121: View { @State private var selected: MKMapItem? @State var aaa: MapCameraPosition = .region(.init (center: .init(latitude: 39.5863, longitude: 141.9502), latitudinalMeters: 1300, longitudinalMeters: 1300)) @State var bbb:String = "test1" @State var sheetflg = false let mkitem: [MKMapItem] = { let aa1 = MKMapItem(placemark: MKPlacemark(coordinate: CLLocationCoordinate2D(latitude: 39.6534, longitude: 141.9795))) aa1.name = "test11" let aa2 = MKMapItem(placemark: MKPlacemark(coordinate: CLLocationCoordinate2D(latitude: 39.6534, longitude: 141.9794))) aa2.name = "test22" return [aa1,aa2] }() var body: some View { VStack{ Map(selection: $selected){ Annotation("\(bbb)", coordinate: .init(latitude: 39.6533, longitude: 141.9795)){ Image(systemName: "house") .contextMenu { Button("test") { bbb = "111" } } } ForEach(mkitem, id: \.self){ item in Marker(item: item) } } .onChange(of: selected) { if selected == nil { return } sheetflg = true } } .fullScreenCover(isPresented: $sheetflg){ Button("\(selected?.name ?? "")"){ sheetflg = false } } } } |
Annotation
ピン的なもの、タップで選択不可
画像や図形などでカスタム可能
|
1 2 3 4 5 6 7 8 9 10 11 12 13 14 15 16 |
import SwiftUI import MapKit struct ContentView: View { var body: some View { Map(){ Annotation("ピンに表示するテキスト", coordinate: 経度緯度変数, anchor: .center){ .ボタン等と同じカスタマイズ方法で色々できる VStack等も可能 .contextMenu{ Button("表示テキスト"){ 処理 } } //ボタン複数だと長押しで起動、ボタン名が表示、押せる } } } } |
MapStyle
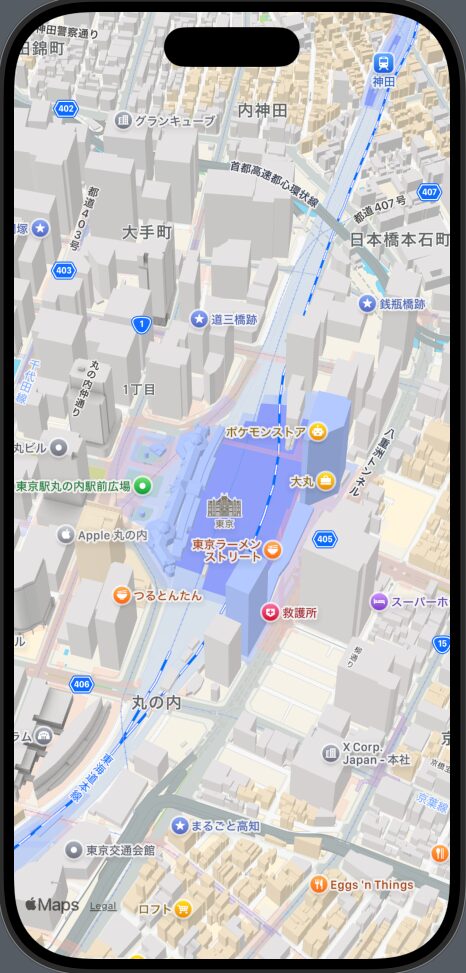
.mapStyle(.standard)
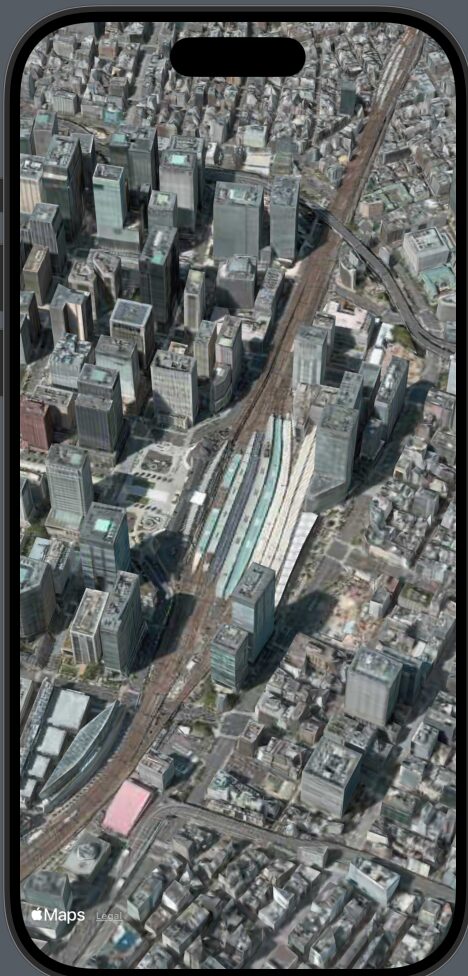
.mapStyle(.imagery(elevation: .realistic))
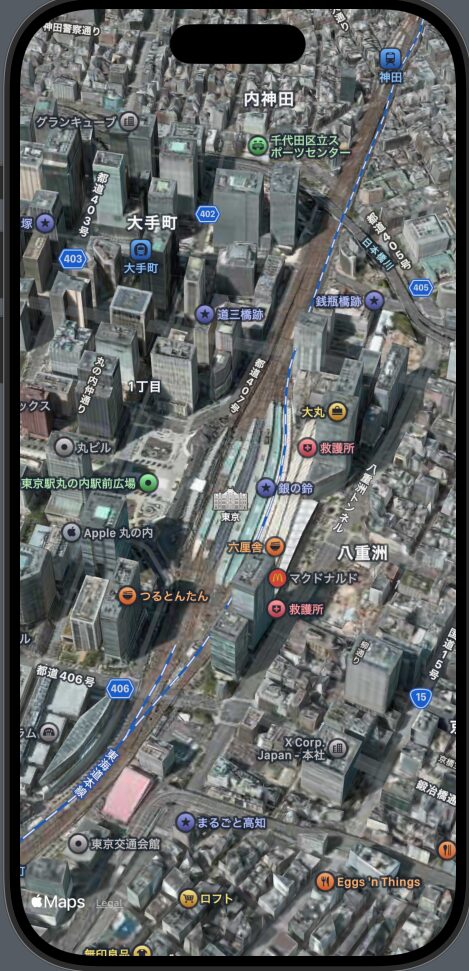
.mapStyle(.hybrid(elevation: .realistic))
シミュレーターのマップ操作は Option + マウスドラッグで回転ピンチアウト、イン。
Option + Shift + マウスドラッグでカメラの角度変更。
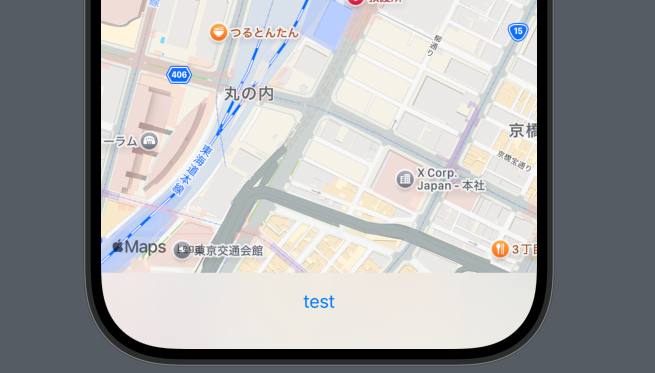
Map下部にボタンを配置する例
|
1 2 3 4 5 6 7 8 9 10 11 12 13 14 15 16 17 |
struct test121: View { var body: some View { Map(){ } .safeAreaInset(edge: .bottom) { HStack{ Spacer() Button("test") { sheetflg.toggle() } .padding(.top) Spacer() } .background(.thinMaterial) } } } |
.onMapCameraChange
ユーザーがマップ操作を終えた時に呼び出される。
|
1 2 3 4 5 6 7 8 9 10 |
struct test121: View { var a1: MKCoodinateRegion? var body: some View { Map(){ } .onMapCameraChang { context in a1 = context.region { } } |
MKMapItem
🔍 基本構造
|
1 |
class MKMapItem : NSObject |
MKMapItem はクラスで、主に次のプロパティを持ちます:
主なプロパティ
placemark: MKPlacemarkname: String?
|
1 2 3 4 5 6 7 8 9 10 |
let placemark = MKPlacemark( coordinate: CLLocationCoordinate2D(latitude: 35.6812, longitude: 139.7671) ) let mapItem = MKMapItem(placemark: placemark) mapItem.name = "東京駅" // 取り出す if let name = mapItem.name { print("名前: \(name)") // -> "名前: 東京駅" } |
phoneNumber: String?url: URL?timeZone: TimeZone?
特殊なもの
isCurrentLocation: Bool
🔧 よく使う初期化
|
1 2 3 |
let placemark = MKPlacemark(coordinate: CLLocationCoordinate2D(latitude: 35.6812, longitude: 139.7671)) let mapItem = MKMapItem(placemark: placemark) mapItem.name = "東京駅" |
🚀 主なメソッド
openInMaps(launchOptions: [String : Any]? = nil)
Apple純正の「マップ」アプリを開いて、その地点を表示できます。
ルート案内やピンを立てる用途に便利です。
例:
|
1 2 3 4 5 6 |
let placemark = MKPlacemark(coordinate: CLLocationCoordinate2D(latitude: 35.6812, longitude: 139.7671)) let mapItem = MKMapItem(placemark: placemark) mapItem.name = "東京駅" mapItem.openInMaps(launchOptions: [ MKLaunchOptionsDirectionsModeKey: MKLaunchOptionsDirectionsModeWalking ]) |
👉 これで「東京駅まで徒歩案内」がマップアプリで開きます。
📍 検索との関係
MKLocalSearch を使うと、周辺の店舗や施設を検索できます。その結果として MKMapItem の配列が返ってきます。
|
1 2 3 4 5 6 7 8 9 10 11 12 13 14 15 |
let request = MKLocalSearch.Request() request.naturalLanguageQuery = "カフェ" request.region = MKCoordinateRegion( center: CLLocationCoordinate2D(latitude: 35.6812, longitude: 139.7671), span: MKCoordinateSpan(latitudeDelta: 0.05, longitudeDelta: 0.05) ) let search = MKLocalSearch(request: request) search.start { response, error in if let items = response?.mapItems { for item in items { print(item.name ?? "不明なスポット") } } } |
📝 ポイント
MKMapItem自体は「1地点を表す」クラスなので、1つのオブジェクトに複数を入れることはできません。- 代わりに 配列
[MKMapItem]を作って管理 します。 - SwiftUI の
Mapでは直接MKMapItemを表示できないので、MKPlacemarkの座標を取り出してAnnotationに変換する流れになります。
✅ 例:複数 MKMapItem を表示する SwiftUI サンプル
|
1 2 3 4 5 6 7 8 9 10 11 12 13 14 15 16 17 18 19 20 21 22 23 24 25 26 27 28 29 30 31 32 33 34 35 36 37 38 39 40 41 42 43 44 45 46 47 48 49 50 51 52 53 54 55 56 57 58 59 60 61 62 63 64 65 66 67 68 69 |
import SwiftUI import MapKit struct MultiMapItemView: View { @State private var region = MKCoordinateRegion( center: CLLocationCoordinate2D(latitude: 35.6812, longitude: 139.7671), // 東京駅を中心 span: MKCoordinateSpan(latitudeDelta: 0.1, longitudeDelta: 0.1) ) // 複数の地点を MKMapItem で用意 let items: [MKMapItem] = { let tokyoStation = MKMapItem(placemark: MKPlacemark( coordinate: CLLocationCoordinate2D(latitude: 35.6812, longitude: 139.7671))) tokyoStation.name = "東京駅" let skytree = MKMapItem(placemark: MKPlacemark( coordinate: CLLocationCoordinate2D(latitude: 35.7100, longitude: 139.8107))) skytree.name = "スカイツリー" let shibuya = MKMapItem(placemark: MKPlacemark( coordinate: CLLocationCoordinate2D(latitude: 35.6595, longitude: 139.7005))) shibuya.name = "渋谷駅" return [tokyoStation, skytree, shibuya] }() var body: some View { NavigationStack { Map(coordinateRegion: $region, annotationItems: items, annotationContent: { item in // MKMapItem → Annotation に変換 if let coordinate = item.placemark.location?.coordinate { Annotation(item.name ?? "不明", coordinate: coordinate) { NavigationLink { DetailView(item: item) } label: { VStack { Image(systemName: "mappin.circle.fill") .foregroundColor(.red) .font(.title) Text(item.name ?? "不明") .font(.caption) .fixedSize() } } } } }) .navigationTitle("スポット一覧") } } } struct DetailView: View { let item: MKMapItem var body: some View { VStack(spacing: 20) { Text(item.name ?? "不明な地点") .font(.title) if let url = item.url { Text("Webサイト: \(url.absoluteString)") } if let phone = item.phoneNumber { Text("電話: \(phone)") } } .navigationTitle(item.name ?? "詳細") } } |
🔑 ここでの流れ
MKMapItemを複数作成(name,url,phoneNumberも設定可能)- 配列
[MKMapItem]にまとめる MapのannotationItemsに渡してAnnotationに変換NavigationLinkを仕込めば、タップで詳細画面へ
✅ まとめ
MKMapItem= 「地図上の地点を表すクラス」MKPlacemarkを持っていて、名前や電話番号などの付加情報を保持- マップアプリに飛ばす、ルート案内するなどでよく利用
MKLocalSearchの検索結果でも返ってくる
MKMapItem内を検索する
MKLocalSearch の検索結果 から得た MKMapItem は、検索で見つかった施設や場所の名前が mapItem.name に格納されています。
例えば:
|
1 2 3 4 5 6 7 8 9 10 11 12 |
let request = MKLocalSearch.Request() request.naturalLanguageQuery = "東京駅" let search = MKLocalSearch(request: request) search.start { response, error in if let response = response { for item in response.mapItems { print("名前: \(item.name ?? "不明")") print("住所: \(item.placemark.title ?? "不明")") } } } |
👉 この場合、item.name に施設名(例: “Tokyo Station”)が、item.placemark には住所や詳細情報が入っています。
住所や細かい情報が欲しいときは mapItem.placemark を見ます。
ズームレベルを監視する
簡単な例
|
1 2 3 4 5 6 7 |
@State private var zoomLevel: Double = 0.0 .onMapCameraChange { context in // カメラの変更を検知 let region = context.region zoomLevel = log2(360 / region.span.longitudeDelta) } |
|
1 2 3 4 5 6 7 |
.onChange(of: position) { oldValue, newValue in if case let .region(region) = newValue { // 🔹 ズームレベルを region.span で判定 let zoomLevel = max(region.span.latitudeDelta, region.span.longitudeDelta) showMarkers = zoomLevel < 0.3 // 0.3以上ズームアウトしたら非表示 } } |
UIKit の MKMapView を使う(より細かい制御)
もし SwiftUI の Map よりも正確にコントロールしたい場合、UIViewRepresentable でラップする方法もあります👇
|
1 2 3 4 5 6 7 8 9 10 11 12 13 14 15 16 17 18 19 20 21 22 23 24 25 26 27 28 29 30 31 32 33 34 35 36 37 |
import SwiftUI import MapKit struct CustomMapView: UIViewRepresentable { @Binding var showMarkers: Bool func makeUIView(context: Context) -> MKMapView { let mapView = MKMapView() mapView.delegate = context.coordinator return mapView } func updateUIView(_ uiView: MKMapView, context: Context) { uiView.removeAnnotations(uiView.annotations) if showMarkers { let annotation = MKPointAnnotation() annotation.coordinate = CLLocationCoordinate2D(latitude: 35.6812, longitude: 139.7671) annotation.title = "東京駅" uiView.addAnnotation(annotation) } } func makeCoordinator() -> Coordinator { Coordinator(self) } class Coordinator: NSObject, MKMapViewDelegate { var parent: CustomMapView init(_ parent: CustomMapView) { self.parent = parent } func mapView(_ mapView: MKMapView, regionDidChangeAnimated animated: Bool) { // 🔹 region.span でズームアウト判定 let zoomLevel = max(mapView.region.span.latitudeDelta, mapView.region.span.longitudeDelta) parent.showMarkers = zoomLevel < 0.3 } } } |
コメント